
2. Your first installation on a home server
In this tutorial you install Looku for real, on a home server, and give it a public address that your website can send page views to. When you are done, Looku is ready for your site, which you connect in the next tutorial.
It takes about an hour. If you did 1. Try Looku on your computer, the first half will look familiar: it is the same Docker setup.
The plan
Section titled “The plan”Looku has two parts with different jobs:
- The receiver takes page views from your website’s server. Your website is somewhere on the internet, so the
receiver needs a public address, for example
https://looku.example.com. - The dashboard is where you read the numbers. Only you need it, so it stays on your home network, at an address
like
http://192.168.1.10:8788.
To give the receiver a public address without opening your home router, we use a Cloudflare Tunnel: a small
program on your server keeps a connection open to Cloudflare, and Cloudflare passes requests for
looku.example.com through it. Cloudflare also blocks everything that is not a page view before it reaches your
home.
What you need
Section titled “What you need”- A home server running Linux with Docker and Git installed: an old computer, a mini PC or a Raspberry Pi 4 or
newer. If Docker is not installed yet, install it with
Docker’s guide for your Linux. Git:
sudo apt install git. - A domain on Cloudflare, for example
example.com. The Cloudflare account is free; a domain costs about 10 € a year. If your domain is with another company, add it to Cloudflare with their guide to adding a site first. That can take a few hours, so start early. - Your own computer on the same home network, to type commands and use the browser.
In the commands below, replace 192.168.1.10 with your server’s address, example.com with your domain and myblog
with a short name for your site. We show you how to find the server’s address.
Part 1: Get onto the server
Section titled “Part 1: Get onto the server”-
Open a terminal on your own computer (Windows: PowerShell; macOS and Linux: Terminal) and connect to the server with
ssh, using your user name on the server:Terminal window ssh you@192.168.1.10The first time, it asks whether you trust the server; type
yes. Then it asks for your password. When the prompt changes to the server’s name, every command you type runs on the server.Don’t know the server’s address? Run
hostname -Ion the server itself (with a keyboard and screen). The first number that starts with192.168.or10.is usually it. Ask your router to always give the server this address (a “DHCP reservation” in the router’s settings). Otherwise the address may change one day, and then the dashboard does not start. -
Check that Docker works:
Terminal window docker compose versiondocker psThe first should print
Docker Compose version v2.…or a higher number, the second a header line starting withCONTAINER ID. If you seepermission denied, putsudoin front of everydockercommand in this tutorial.
Part 2: Install Looku
Section titled “Part 2: Install Looku”-
Download Looku into your home folder:
Terminal window cd ~git clone https://github.com/niemenjoki/Looku.git lookucd looku/deployYou are now in the
deployfolder. Alldocker composecommands in this tutorial are run here. -
Write the settings. Copy the example and open it in
nano, a simple text editor in the terminal:Terminal window cp .env.example .envnano .envMove with the arrow keys and change these three lines (leave the others as they are):
LOOKU_TIMEZONE=Europe/HelsinkiLOOKU_DASHBOARD_BIND=192.168.1.10LOOKU_API_HOSTS=192.168.1.10:8788What they mean:
LOOKU_TIMEZONE: your time zone. The nightly tidy-up and the monthly email follow it.LOOKU_DASHBOARD_BIND: where the dashboard can be opened. Your server’s home address means: only from home.LOOKU_API_HOSTS: the address you will type in the browser. The dashboard refuses other addresses, which protects it against a trick where a malicious web page tries to reach devices on your home network.
Save with Ctrl+O and Enter, and exit with Ctrl+X.
-
Make a folder for the data. All of Looku’s data will be in one file in this folder:
Terminal window mkdir -p datasudo chown 1000:1000 dataThe second command gives the folder to the user that Looku runs as inside its container.
sudoasks for your password. -
Start Looku:
Terminal window docker compose up -dThe first time takes a few minutes. It ends with
Container looku-ingest-1 StartedandContainer looku-dashboard-1 Started. Looku now starts by itself whenever the server restarts. Check after a minute withdocker compose ps: both should sayUpand(healthy). -
Add your site:
Terminal window docker compose run --rm ingest site:add myblog --domain example.com --timezone Europe/Helsinki--domainis your website’s address withouthttps://(with or withoutwww.; Looku treats them the same). Looku answers with the site’s signing key:Site myblog added. Signing key (shown once):k8Jd2mQx7RfTn4WcZp1LvB9sHy6GaE0uYoXiN5tCw3ESave the key in your password manager now. Your website signs every page view with it, and Looku accepts only signed page views. If you lose it,
docker compose run --rm ingest site:rotate-key myblogmakes a new one. -
Choose the dashboard password (at least 10 characters):
Terminal window docker compose run --rm -it ingest admin:passwordType it after
New dashboard password:and press Enter. Nothing appears while you type, and it asks only once. It answersPassword set. Restart `looku serve` to end existing logins.With Docker, “restartlooku serve” meansdocker compose restart dashboard; you only need it when you change the password later. -
Open the dashboard on your own computer:
http://192.168.1.10:8788. Log in.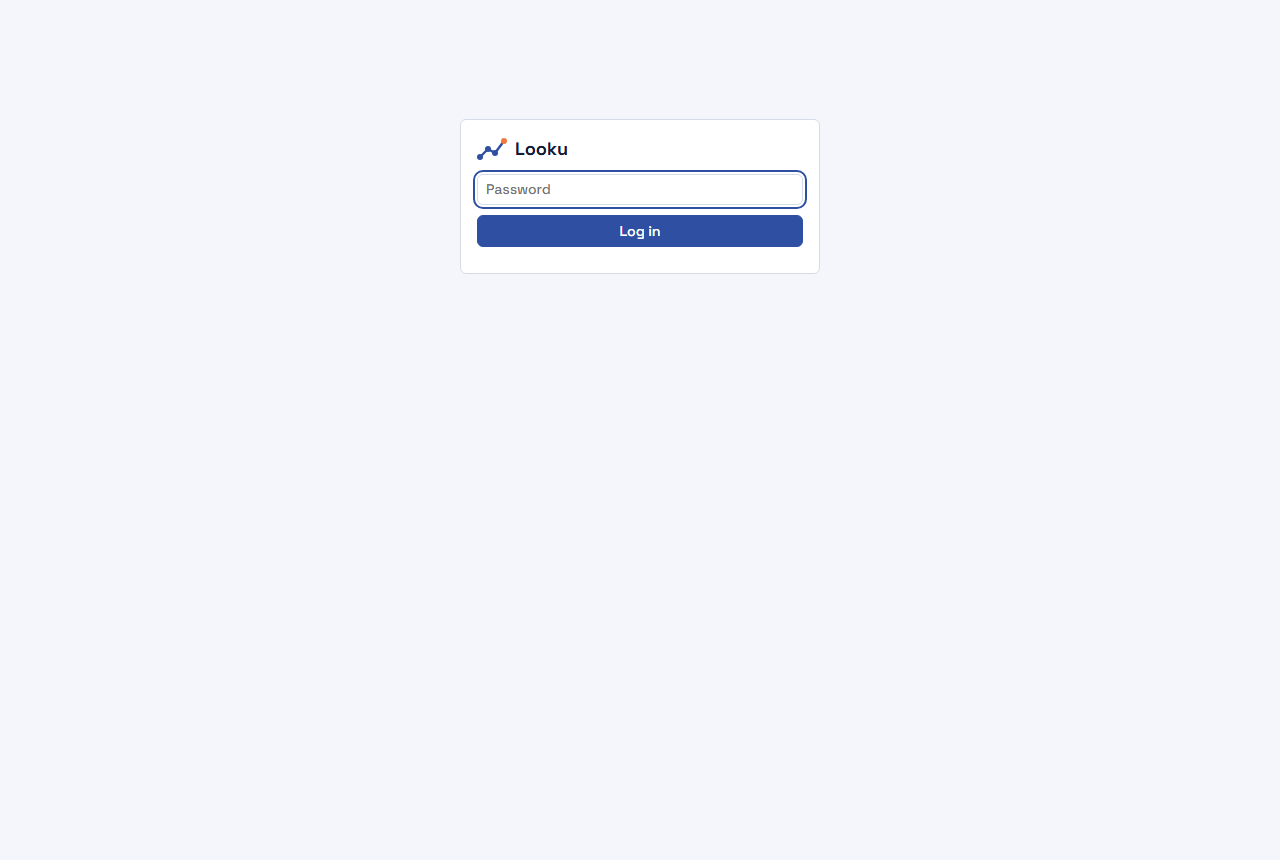
The dashboard is empty for now; it fills up once your site sends page views.
If the page does not open, or says
Unknown host, check the three lines in.env, rundocker compose up -d(which applies changes to.env) and see Troubleshooting.
Part 3: A public address for the receiver
Section titled “Part 3: A public address for the receiver”This part happens mostly in the Cloudflare dashboard in your browser. Cloudflare changes its menus now and then; each step names the menu and a word to search for. (Checked in November 2026.)
-
Create the tunnel. Log in at dash.cloudflare.com, go to Networking → Tunnels (search: “Tunnels”) and select Create a tunnel. Name it
lookuand select Create Tunnel. -
Copy the tunnel’s token. Cloudflare now shows how to install the tunnel program on different systems. Choose Docker. You do not run the command it shows; Looku already has the tunnel program. Copy only the long text after
--token(it starts witheyJ). It is a secret, like a password. Keep this page open. -
Give the token to Looku. In the terminal on the server. (If you come back to this later, connect again with
ssh you@192.168.1.10and runcd ~/looku/deployfirst.)Terminal window nano .envGo to the last line,
LOOKU_TUNNEL_TOKEN=, and paste the token right after the=(in the terminal, paste with a right click or Ctrl+Shift+V). Save and exit. -
Start the tunnel:
Terminal window docker compose --profile tunnel up -dIt says
Container looku-tunnel-1 Started. The tunnel is a separate container that starts only when you ask for it with--profile tunnel. -
Back in Cloudflare, on the page where you copied the token, the tunnel should show as connected (healthy) within a minute. (Cloudflare calls the tunnel program a “connector”.) Select Continue. You can always get back to the tunnel from Networking → Tunnels by selecting its name.
-
Point your address at the receiver. In the tunnel, open the Routes tab and select Add route → Published application. Fill in:
Field Value Subdomain lookuDomain example.comPath leave empty Service URL http://ingest:8787Select Add route. Cloudflare creates the address
looku.example.comin your domain by itself. Requests to it now travel through the tunnel to the receiver, which is calledingestinside Docker.
Part 4: Let only page views through
Section titled “Part 4: Let only page views through”Your website sends exactly two kinds of requests to the receiver: POST requests to /ingest (page views) and to
/orders (shop orders). We tell Cloudflare to block everything else, so nothing else ever reaches your home.
-
In the Cloudflare dashboard, open your domain (
example.com). -
Go to Security → Security rules (search: “Security rules”) and select Create rule → Custom rules.
-
Name the rule
Looku: only POST /ingest and /orders. -
Under When incoming requests match, select Edit expression and paste this, with your own address instead of
looku.example.com:(http.host eq "looku.example.com" and not (http.request.method eq "POST" and http.request.uri.path in {"/ingest" "/orders"}))In words: “a request to looku.example.com that is not a POST to /ingest or /orders”.
-
Under Then take action, choose Block, and select Deploy.
Test it from your own computer. Give the rule a minute first:
curl -s -o /dev/null -w "%{http_code}\n" -X POST https://looku.example.com/ingestcurl -s -o /dev/null -w "%{http_code}\n" https://looku.example.com/curl.exe -s -o NUL -w "%{http_code}\n" -X POST https://looku.example.com/ingestcurl.exe -s -o NUL -w "%{http_code}\n" https://looku.example.com/| First | Second | What it means |
|---|---|---|
401 |
403 |
Correct. Your test reached the receiver, which refused it because it was not signed, and Cloudflare blocked the other request. |
403 |
The rule blocks the receiver too. Check the expression in part 4. | |
502 or 530 |
The tunnel does not reach the receiver. See Troubleshooting. |
You’re done
Section titled “You’re done”Looku is running on your server. The receiver has a public address that only takes signed page views, and the dashboard is reachable only at home. Write down the three things your website needs:
LOOKU_ENDPOINT=https://looku.example.comLOOKU_SITE_ID=myblogLOOKU_SIGNING_KEY=the key from part 2Next: 3. Connect your site and read your first numbers.
Later, set up backups. To open the dashboard when you are away from home, see Tailscale.